Cloth
Cabinet
This I would do over if I had more room. It works fine but
since the bulk of the material is cut on the diagonal it would
work better if you have about 6 feet of table to pull the
cloth out on. Keep the top at 36" high to match the
bench. If you somehow have the room, allow 24" between
the cutting bench and the workbench but in such a way as you
can put in a filler piece to bridge the two tops and do longer
cuts. Yah Chrissi, dream on. Just make sure it can close up
nice and dust tight.
Make sure on the tabletop you put guide lines for alignment
and cutting at 45o
etc.
We also ended up making a covered roller holder for large
rolls of peel ply above the cutting top. This stuff comes on
60" wide rolls so it would be a pain to put into the
cloth cabinet.
The
discussion of what tool is best to cut the different glass,
kevlar, carbon and peel ply materials with comes up on a
regular basis. We can safely say we tried them all (plans
scissors, rotary wheel pizza cutter) and gave each a fair
chance to prove itself but nothing came remotely close to the
joy we get from the Dritz electric scissors. 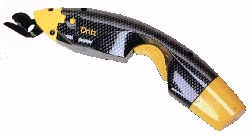
Electric
piranhas!
Dritz electric scissors will cut through multiple layers of
wet glass, if you go clockwise around a part with the upper
scissor blade on top of the part you can wet trim with nearly
zero overhang; no need to wait for just the right moment
to knife trim.
 Wicks
aircraft carries them as well as the spare cutter heads which
are cheap. You can probably build the whole plane with one
spare.
Wicks
aircraft carries them as well as the spare cutter heads which
are cheap. You can probably build the whole plane with one
spare.
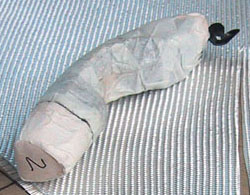
We wrap them up in saran and then cover them in masking tape,
then slit around the battery pack with a razor and cover the
joint with a single wrap of tape. Clean up just the tips with
a bit of acetone. The cutting edges have carbide inserts for
long durability. They hold a charge for quite awhile and also
come with a cheater cord in case you forget to charge them.
Cutting BID on the
bias
Awhile ago someone
asked us about this and I realized back when we first started
how we spent an inordinate amount of time fussing with BID
getting it set up and cut.
Every piece of BID you are going to use will be cut on the
bias; setting the weave 45 deg with respect to the orthogonal
axis of the part.
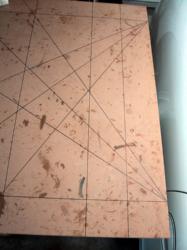
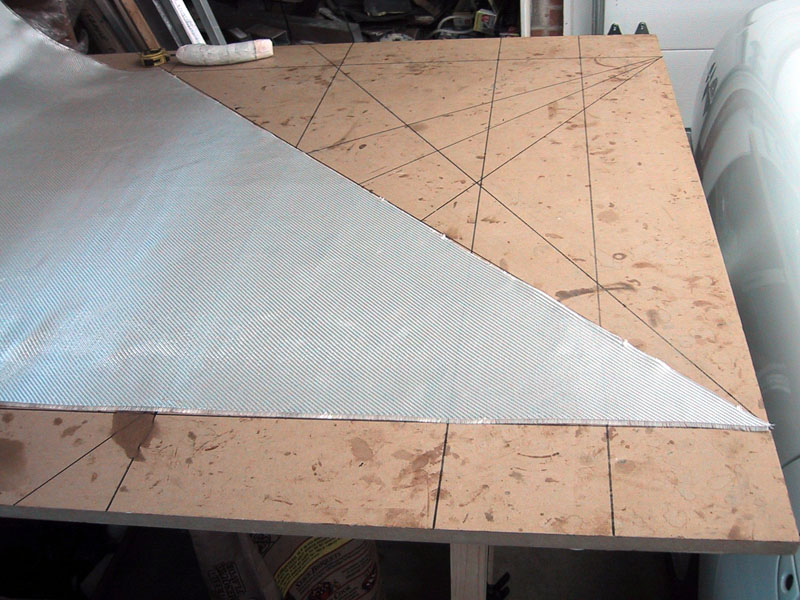
First
thing we did was set up the cutting table with some guide
lines like shown here at the right, click image for a larger
picture.
There
are side lines for the cloth width to lay it straight and at
the end of the table lines at 30, 45, 60 degrees on both
sides. Make these dark with a medium Sharpie and you will be
able to see them through the cloth.
Next the BID cloth
is pulled by both corners straight out till it reaches the end
of the table. In the picture shown below it has already been
aligned and cut on the 45 degree bias, click the image to see
how the bias lines are clearly seen in the cloth.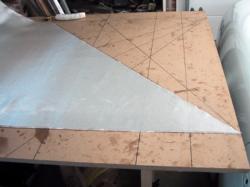
Rather then fuss too much trying to straighten the cloth out,
make the first cut following the bias line of the cloth, then
adjust the cloth straight down the sideline and then adjust
the bias cut portion to the 45 degree line, now your cloth is
straight. Depending on whether your cloth is on an original
mill roll or cut to length and re-rolled by a supplier the
bias lines could be from left to right or the reverse.
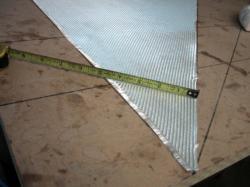 Measuring
width of cut is perpendicular to the bias cut line, either
make a small mark at the edge or a snip with you new Dritz
scissors, then run them straight up the bias line of the
weave, it will become obvious when you do it the first time.
No fuss, no straightedge, no marking lines.
Measuring
width of cut is perpendicular to the bias cut line, either
make a small mark at the edge or a snip with you new Dritz
scissors, then run them straight up the bias line of the
weave, it will become obvious when you do it the first time.
No fuss, no straightedge, no marking lines.
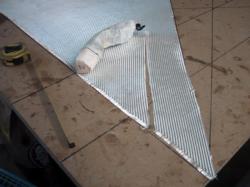
That's
pretty much all there is to it unless you are cutting out a
specific shape otherwise most of the time you keep the roll
trimmed on the bias line.
Straight
cuts of UNI we cut 1/2" wider, then peel out 1/4" of
strands on each side to give it a selvage edge. This prevents
loose strands from gumming everything up later.